


Studio Windowshade System Instructions
Only backgrounds on lightweight material such a windowshade material, muslin, paper, etc. mounted to a 1 1/4" diameter spring-loaded roller will work in this system. Our Studio Windowshade System is NOT made for canvas backgrounds.
Bracket Mounting Instructions
Fasten bracket (A) to the left side and bracket (B) to the right side of the enclosed pre-drilled mounting board using the 1/4" X 20" X 3/4" hex head bolts.(Figure 1) Please note that 7 feet and 8 feet wide models are shipped with two (2) mounting boards so that they can be shipped within the U.P.S. size limitations.
Fasten spacer rod (C) between brackets (A) and (B) using the two 5/16" X 20" X 1/2" hex bolts. (Figure 2)
Caution: Spacer bar MUST be installed to prevent rollers from falling out. The mounting board with the brackets attached can now be mounted to the studio wall.


Windowshade Roller Background Installation
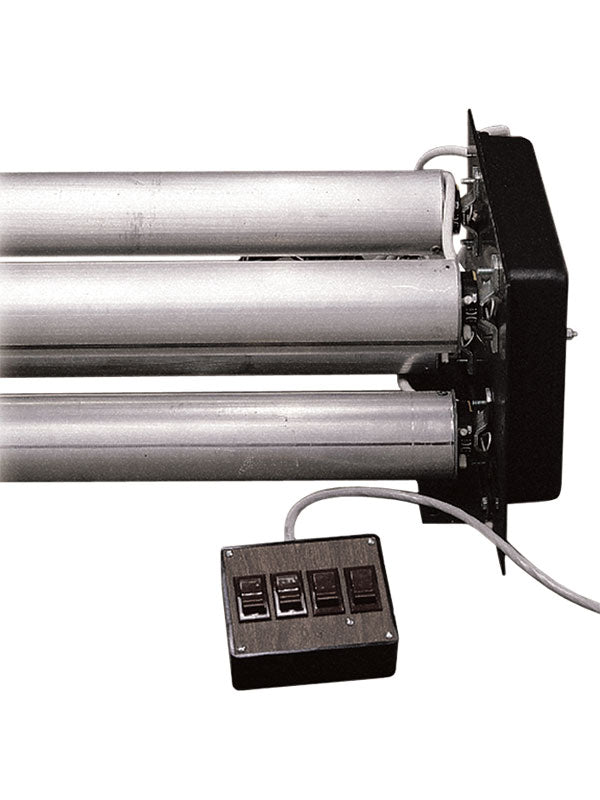
Install the windowshade background into the brackets by inserting the spring side (flat bar) of the roller (figure 3) into the large hole of the bracket (A) and the round pin side of the roller into the corresponding small pin holes of bracket (B) (figure 4). When this is completed the spring side flat bar should slip into the slot below the large hole in the bracket (A) (figure 5).


